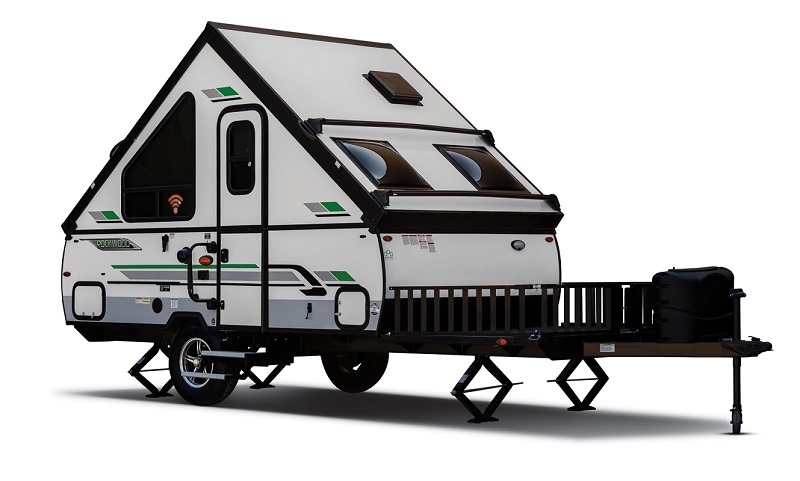
Levelling Your RV
There’s nothing more frustrating than finding that perfect spot to set up your trailer, only to park and find it near impossible to get your trailer on an even level. This is especially annoying if this happens at the end of a long day’s travel!
So, what is the best procedure for how to level a travel trailer?
This is a common question we hear from our customers at Texas RV Guys so we thought we’d put together a guide on the best practices when picking a spot for and levelling your trailer.
We’ve broken this down into sections, all of which play an important role in getting your trailer properly levelled! There are a few tools that you will need before you can level your trailer properly, these are explained in greater detail in this article. They are:
- Levelling blocks or wedges
- Blocks or stand for your tongue jack
- Bubble levels on your RV
- Tire chocks
Picking your spot
If you are staying at a campground, you may not have much of a choice as to where you pitch up your trailer. You’ll also find that most campground spots are fairly level and that trailer levelling is usually pretty straightforward or even a potentially unneeded skill in campgrounds.
However, if you are boondocking, it’s worth scoping out an area first to get a lay of the land. When doing so, look for large areas of even and level ground and be sure to check the ground isn’t saturated with water. Always ensure that it’s going to be solid enough to handle the additional weight of your trailer! NB- How much does your trailer weigh when fully loaded? It’s important to know this information if you need any help or advice don’t hesitate to give us a call!
Remember, even a level trailer can become unlevel if it’s not set up on firm, solid terrain!
Parking
Location, location, location. It’s all about location, right?! Not to mention that being able to choose where you call ‘home’ is one of the best things about RVing! Unfortunately, if you are setting up at a campground and in a designated parking spot you won’t have much say as to where you park, although they usually set up pitches so that they have good views (not in all cases mind you!).
However, if you are boondocking (our preference, these factors are well within your control. Things to consider when choosing where to set up:
Level: You’re going to want to find a spot that’s as level as you can find to start with.
Solar: If you are using rooftop solar, consider positioning your travel trailer to get maximum sun on your panels.
Refrigerator Needs: In hotter climates, some people will also park to deliberately keep the side of their rig that has the refrigerator shaded. The most common type of RV refrigerator is an absorption refrigerator which has to work hard to stay cool if it’s very hot and facing the sun. This is also going to greatly reduce your electricity/fuel consumption and save you a few bucks!
View: Positioning your rig so that your biggest windows have the best views but remember it won’t always be possible to get all of the above features in one spot. We usually prefer to go for good views and level ground as the view is likely a big reason you are boondocking!
Neighborly Consideration
If you are boondocking nearby people whom you don’t know, there is an unwritten rule that you should try not to park nearby with your door facing their door. This sometimes cannot be helped, but do try your best not to be ‘staring’ right at your neighbor, especially if they were there first.
This might seem obvious but there’s nothing worse than waking up and stepping out of your RV to enjoy the view with your morning coffee only to find that a fellow camper has set up directly opposite your front door during the night!
After You Have Parked
Now you have picked your spot and you are parked comes the work of levelling a travel trailer. Remember you always need to level your trailer BEFORE you unhitch!
The first thing you need to do is level your rig from side to side. After you’ve levelled the trailer from side to side you can then unhitch your trailer and level from front to back.
Bubble levels
Your trailer might come with pre-installed bubble levels somewhere on the outside or even on the inside. If not, you can purchase levels to stick onto the front and side of your rig. These are cheap and readily available and a basic but accurate way to determine the lay of the ground.
Nowadays there are several apps that you can download onto your smartphone which offer bubble levelling, these are just as accurate as regular bubble levels but we don’t recommend sticking two smartphones to the outside of your trailer!
Once we’ve got our trailer set up, we need to look for which side of the trailer is lower than the others. After you have figured out which side needs to be raised (the low side is where the blocks go to raise that side), it’s time to get out your RV levelling system. Remember, we are still hitched to our truck/automobile!
DO NOT UNHITCH YET!
RV Leveling Systems
Anderson and Lynx Levellers (Wedges and blocks)
There are two primary types of levels for levelling a travel trailer. Block style and wedge style levellers. Here at Texas RV Guys, we prefer the Andersen Levelers (wedge) over the Lynx Levelers (block) as they are generally easier to use and involve less tweaking and hopping in and out of your tow vehicle!
Levelling with blocks
If you have blocks, or ‘Lynx Levelers’ just place them in front of your tires on the side that needs to be lifted.
You can also put the levelling blocks behind your tires depending on which needs to be raised. Using this method, you have to guess approximately how many blocks to use to get to level. We find this is something you get an eye for fairly quickly and once you’ve done this a few times it will become second nature!
Now you’ve set your blocks, you need to get back in your tow vehicle. Pull forward or backwards until your tires are on top of the blocks. Then you have to check to see if you are level, or if you need more or fewer blocks to get level. This can need some fine-tuning, especially if you’re going for a great view over more level ground.
If you aren’t level, back off of the blocks, adjust them and try again.
Once you are level, chock your wheels on the other side, YOU CAN NOW UNHITCH!
Now you can level your travel trailer from front to back using your tongue (front) jack. Make sure your tongue jack has a ‘foot’ on it or you use some sort of blocks or stand for your jack so it doesn’t sink into the soft or wet ground.
That’s it, your trailer is now level and you can start to camp!
Levelling a travel trailer with Andersen Levelers
Andersen Levelers are a fantastic levelling system that makes trailer levelling as easy as pie! This system eliminates the hassle of driving onto blocks then finding out you need more (or less!), having to drive off, add some and start over again.
With the wedge system (Andersen Levelers) you simply place the wedges in front of the tires that need to be lifted and then drive forward until your rig looks level (check your bubble levels!) or until your partner or fellow camper tells you are level.
We recommend using an additional bubble level internally on surfaces and appliances to ensure you are level before you unhitch!
If you are travelling alone, simply step out, check the level, and correct (pulling forward or backward) if necessary. There is not the hassle of figuring out if you need more blocks or fewer blocks and then having to re-do the blocks. You can simply back up more or pull forward more according to what your level is telling you.
Once you are level, you must always chock the levellers themselves. Texas RV Guys highly recommend having a spare pair of good chocks (or x-chocks) to chock the other side of your tires as an extra safety measure.
Sometimes it is hard to tell which way your trailer will want to roll. If you chock the Andersen Levelers incorrectly, your rig might roll a little and become un-level again. After you are level side-to-side, you can unhitch your trailer from your tow vehicle and then level from front to back using your tongue (front) jack.
As with the previous method, always make sure your tongue jack has a ‘foot’ on it or you use some sort of blocks or stand for your jack so it doesn’t sink into the soft or wet ground.
Once your trailer is level you can unhitch and camp away!
LevelMatePRO
LevelMatePRO is a wireless vehicle levelling system that accurately reports how much height is required to reach a level position and tells you where that height is needed. It wirelessly connects with your smartphone where an easy-to-use app displays the needed levelling information.
It was designed for use with both drivable and towable vehicles. You can monitor levelling data as you pull into a site, allowing you to pick the most level spot before you park. For towable vehicles, it allows you to save and recall your hitch position for quick and easy reconnects to your tow vehicle. LevelMatePRO is recommended for use with RV’s and camping trailers of all kinds.
Start the app as soon as you reach your destination. As you pull into each potential site, the app will dynamically display accurate information about how to level the site is. If a site will require too many blocks to get your vehicle level, or if your jacks won’t reach the ground, you can move on and try a different spot.
It’s a little pricey, but if money isn’t an issue, then we highly recommend this system for setting up and levelling your trailer with ease!
